June 7, 2026
Shaker or Impact Hammer for Modal Testing?
Structural Dynamics Series #5
One of the most critical decisions in modal testing is selecting the right excitation method. But first, one thing should never be forgotten: you are not testing only the structure. In reality, the measured system consists of the structure, fixture, shaker attachment, sensors, cables, and suspension system. The same structure can behave differently under different test setups.
Which one should we choose?
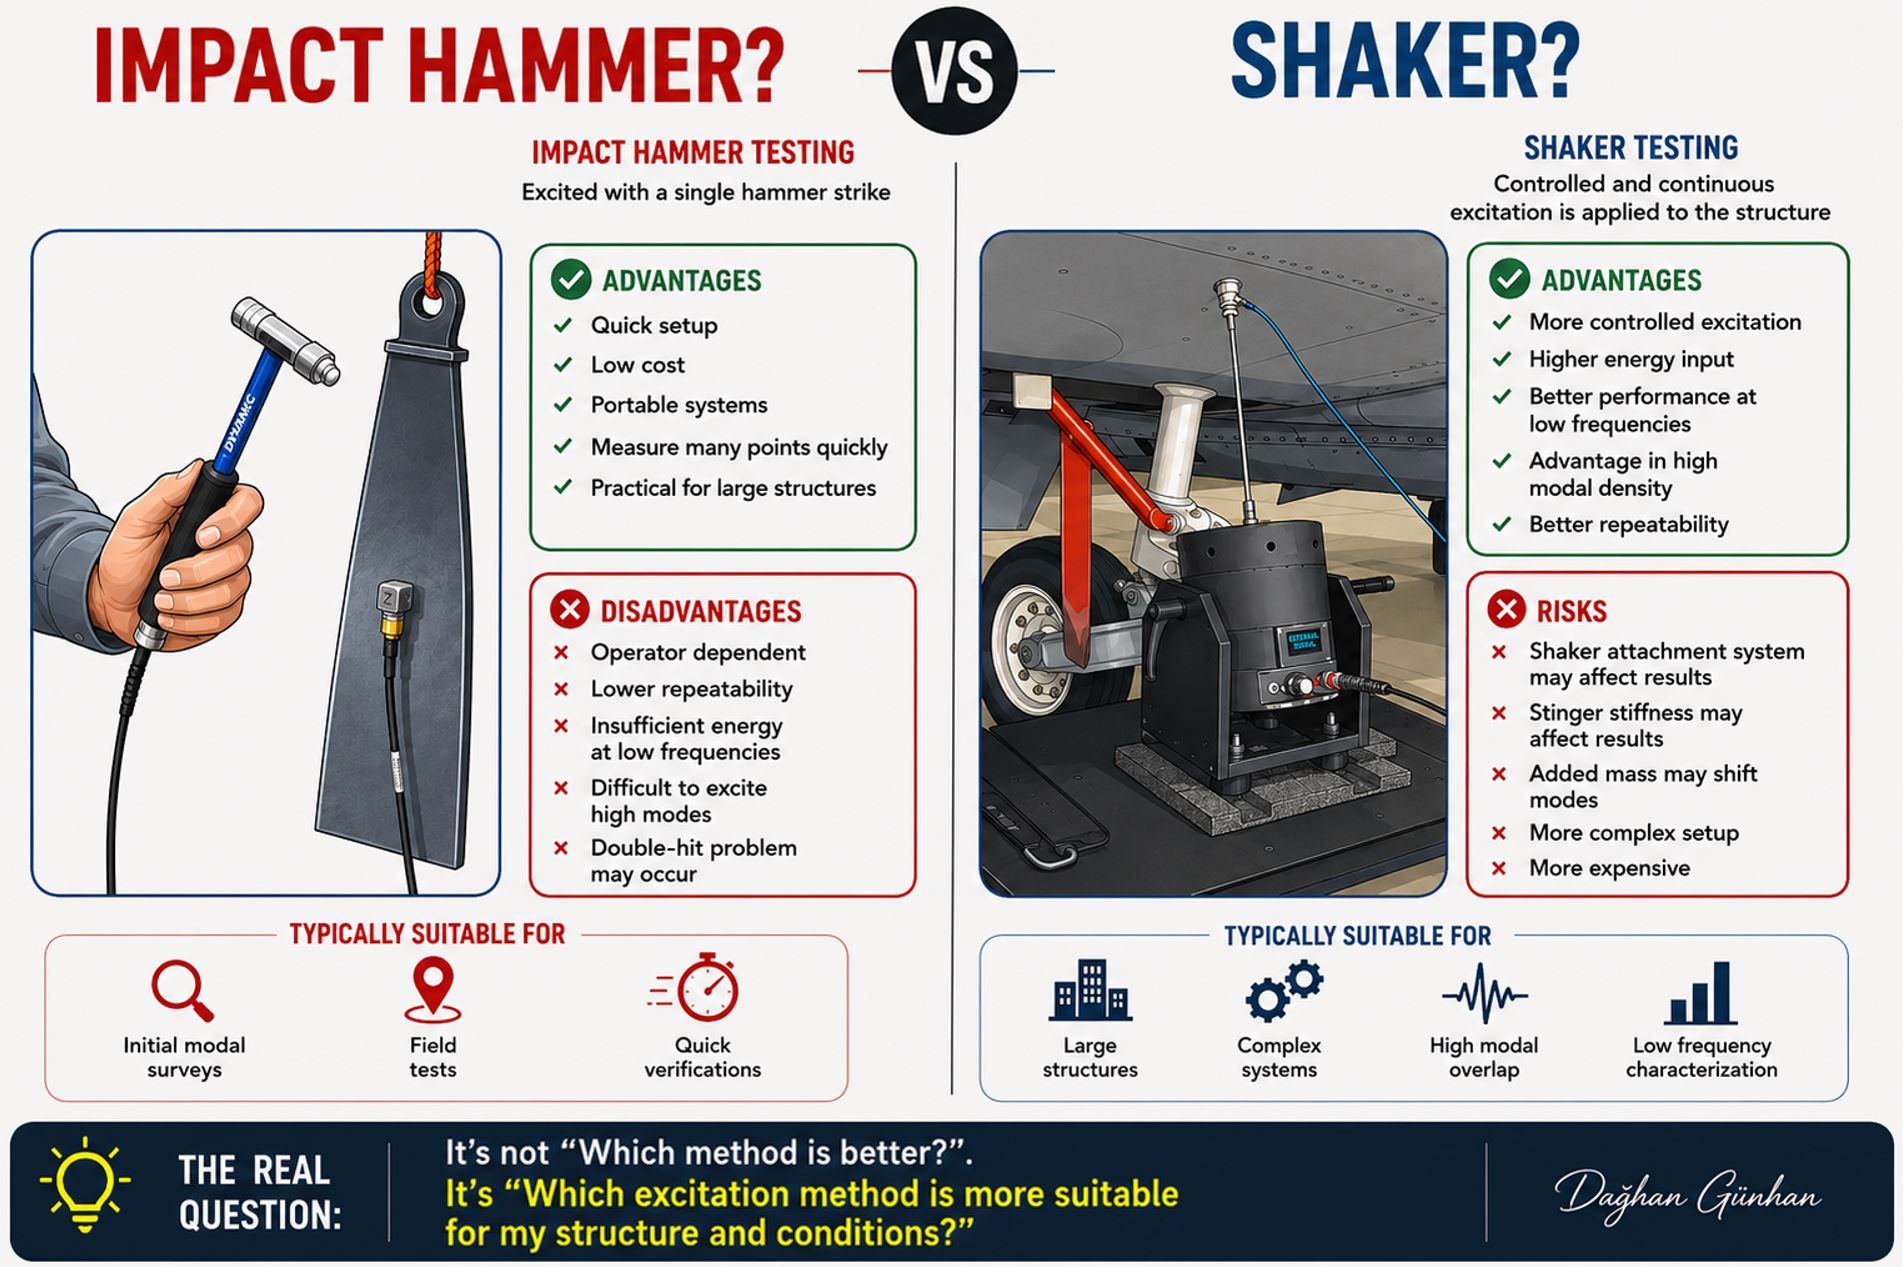
Impact hammer — fast, low cost, flexible.
Shaker — more controlled, more repeatable, more powerful for complex systems.
The real question isn't "which method is better?" — it's "which excitation method is more suitable for this structure?"
Small and lightweight structures
Accelerometer mass can significantly alter system dynamics. In such cases, lighter/single-axis sensors may be preferred, miniature accelerometers can be used, non-contact measurement techniques may be considered, and the roving hammer or roving accelerometer approach may be applied.
Roving hammer method
In this method, the response point remains fixed and excitation points are moved. This avoids sensor relocation at every point and reduces accelerometer mass loading effects. Under the reciprocity assumption, equivalent modal information can be obtained by transposing the FRF matrix — but this is only valid under linear and time-invariant system assumptions.
Hammer tip selection
- Soft tip → longer pulse duration, lower frequency content
- Hard tip → shorter pulse duration, higher frequency content
Incorrect tip selection may create an inappropriate excitation bandwidth. For small and lightweight structures, hard tips may cause sensor saturation/overload problems.
Boundary conditions can change everything
If the goal is to identify the structure's own modes, test setup influence should be minimized. For this reason, free-free setups, soft suspension systems, and bungee mounting are commonly used — because wrong boundary conditions mean wrong mode shapes.
How do you know your test results are reliable?
Looking only at the FRF is not enough. Coherence should always be checked. Low coherence may indicate noise, nonlinearity, double hits, insufficient excitation, or poor sensor placement. Driving point FRFs should always be investigated, because excitation point suitability often becomes visible there.
Conclusion
Whatever method you choose: question the boundary conditions, question the test setup, question sensor influence, check coherence, and question the excitation method.
Originally posted on LinkedIn.